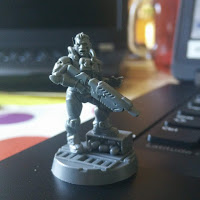
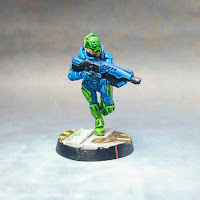
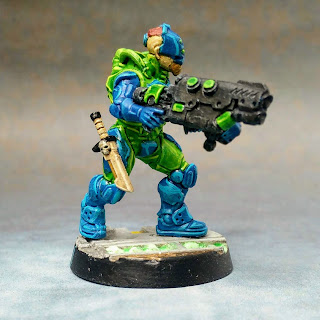
So these are the first tests, mixing up the arms and seeing what fits.
These images are to show all the combinations that one model can now have.
While the mix of arms seems to work very well, the 'dual arm' models are a bit tight, so when they are attached. You need to be very careful not to rub off any paint. I've added extra varnish, but its something that I suspect will wear over time. I've also noticed that if you leave the arms on, sometime the 2 varnished pieces can become a bit tacky. So removing can pull away paint, so I'm storing them with the arm removed as much as possible.
The magnets are 2mm x 2mm N35's from Wish, though I imagine you should be able to get them from most places.
This is a example of the 'dual arm' model with a Lascarbine. You have to try to part the arms a little to get them off without to much rubbing of the original paint job.
The base scheme I chose was a blue and 'bright green'. I felt this had a nice futuristic influence and tied in nicely with a feel of a group that was exposed to chemicals, radiation and other dangerous elements.
Anyway, enough writing, time for some photos of my Green Spe-iiders (Arachnis Deathicus).
You can makeout the holes in the shoulders where I've located the magnets. A Pin Vice should easily be enough to cut out the hole, though watch the depth on the arms. 2mm with the tip of drill bit is very close to going through, so take it slow. More so, if your using something like a Dremel.
With the arms, just a small magnet in the shoulder joint is more than enough. Even the Rad Cannon, in case of the image on the left a 'converted' Long Las, doesn't 'droop. They do as you can see, stick to everything easily. As I don't store them on the models, all mine are in my case attached either side to 1 or 2 pence coins.


Great job mate - I especially like that green and blue combination you've made - if only I could manage a similar paint job myself! Looking forward to you future posts!
ReplyDelete